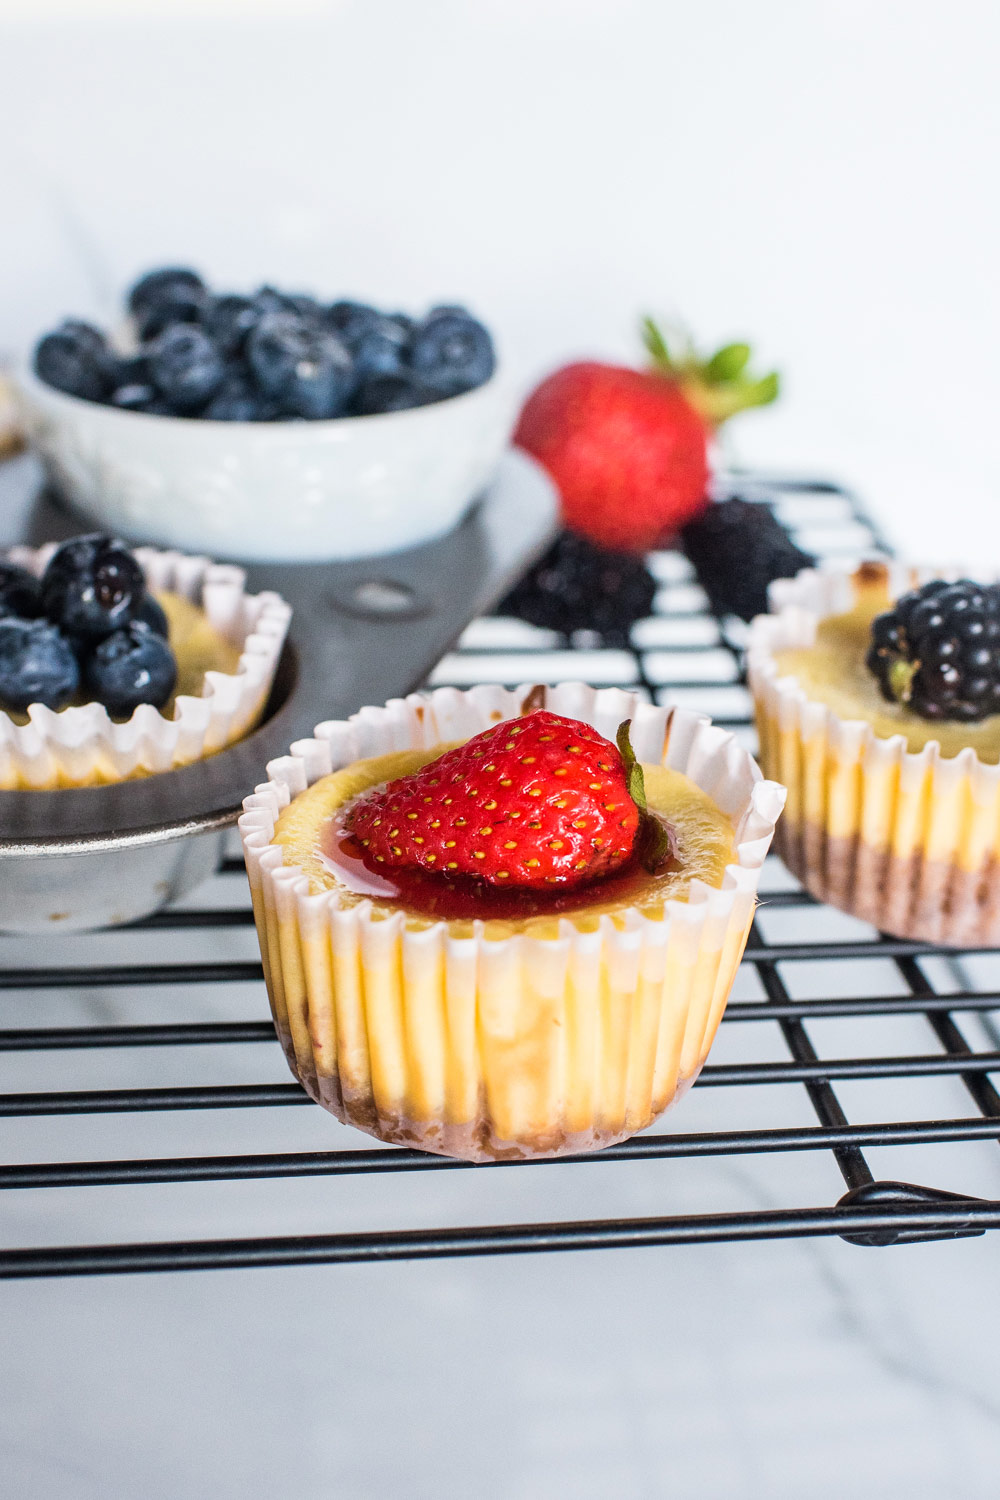
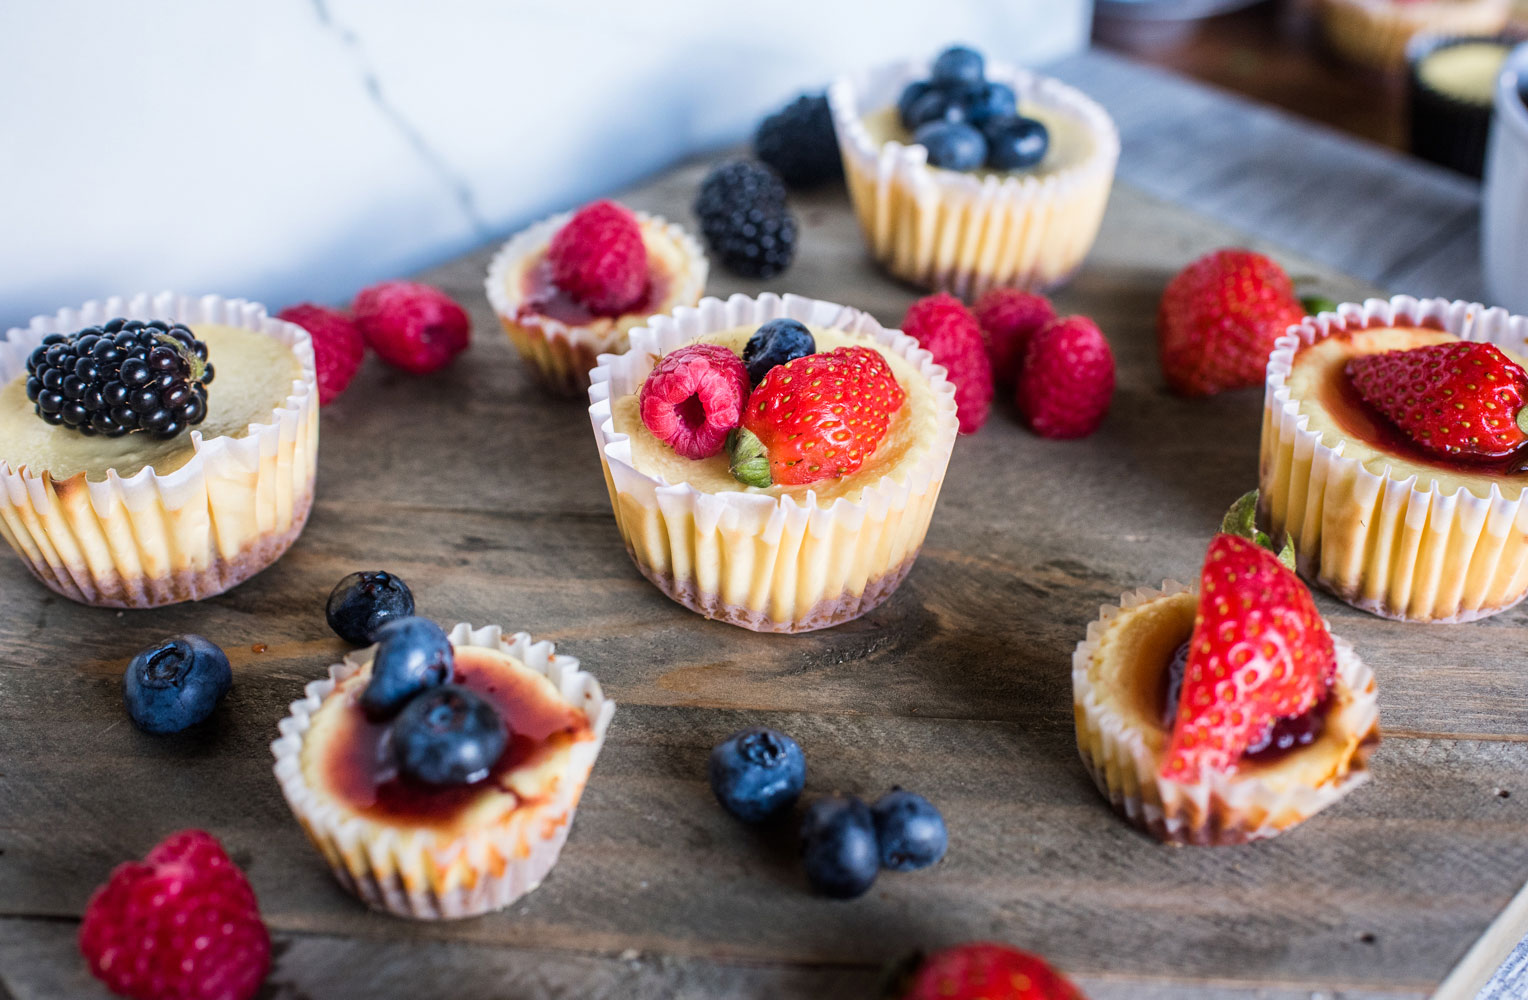
These mini cheesecakes with fruit make the perfect personalized dessert option for any occasion. Rich, decadent, and creamy, these little morsels melt in your mouth. A splendid dessert option for the holidays, birthday parties, or for a self-care day.

I absolutely love that the cheesecake flavor can be used in so many ways. Plus, everything it’s added to just gets ten times better. Well, at least I think so. I, for one, get giddy when I make a new cheesecake recipe. There are two reasons for this. One, I get to share it with you guys and nothing feels better than sharing a delicious new creation! Two, I get to eat what I make and photograph, ha! It’s truly one of the biggest pluses, I can’t deny that. Don’t just sit here reading about me enjoying these mini cheesecakes! Go make your own and enjoy every bite.
How to make
- Prep – Preheat the oven to 350 degrees and place liners in a mini cheesecake pan or muffin tin.
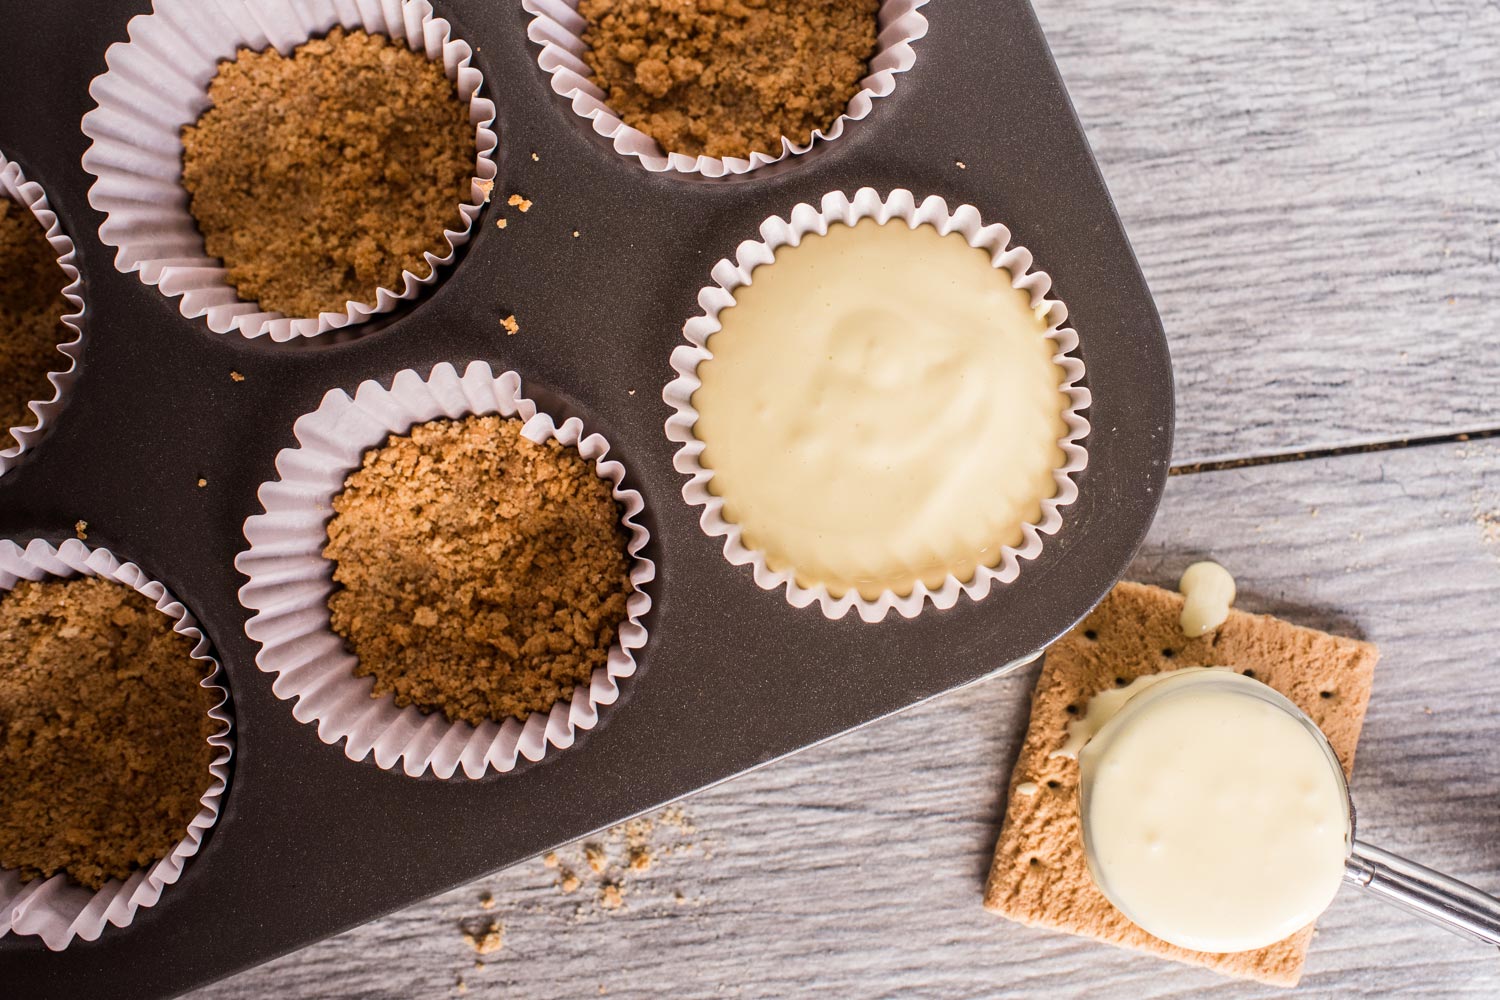
- Make the crust – Mix together all crust ingredients thoroughly. Press a heaping tablespoon into the bottom of each liner.
- Make the filling – In a large bowl, beat the cream cheese and sugar together until smooth. Add the rest of the ingredients except the egg and beat again. Add the egg and beat until just combined. Divide filling evenly between the liners.
- Bake – Bake for about 18-20 minutes or until centers are the only thing that jiggles.
- Chill – Cool on a wire rack for 30 minutes then transfer to the fridge for a minimum of 2 hours. Garnish, serve, and enjoy!

Top Tips for the Ultimate Mini Cheesecakes with Fruit
- Don’t open the oven – Resist the urge to open the oven while the cheesecake bites are cooking. This can cause them to take longer to cook or cook unevenly. This can also cause more drastic sinking in the middle of them.
- Topping suggestions – Individual cheesecakes are the best for customizing. You get to top them with whatever each person prefers.
- My mini cheesecakes sunk – That’s ok, this is supposed to happen during the chilling stage. This makes it easier for the toppings to sit on the top of the mini cheesecake cupcakes.
- Add nuts to the crust – You can add crushed pecans, walnuts, almonds, etc. to the crust mixture if desired. It adds an extra crunch or bit of texture. I personally love the added flavor as well.
- Add cinnamon to the crust – I sometimes like to add in some ground cinnamon to the crust as well. This depends on your preferences. It adds a nice little spice to it.
- Make other colors – You can add food coloring to the cheesecake mixture before baking. This way, you can make the mini cheesecakes a specific color to match any occasion.
- Make other flavors – Swap out the vanilla extract for other flavored extracts. There are countless to choose from. Some of my favorites are lemon, orange, birthday cake, hazelnut, etc.
Why Did My Cheesecake Sink?
There are usually two reasons why this happened. The main reason being that you mixed the cheesecake too much before cooking. Doing this will cause a ton of air to be held in, which makes the cheesecake rise too much too quickly during the baking process. When the cheesecake cools, it sinks in the middle from the excess air releasing. You can also cause your cheesecake to sink if you open the oven consistently during the baking process. This causes the heat to escape and reduce before the cheesecake has become stable, resulting in a sunken middle. If they do sink, it’s actually ok, and great for toppings.
How Do You Know When a Cheesecake is Done?
If the outside of the cheesecake is set, but the middle jiggles a little bit, then they’re perfect. You don’t want to leave them in the oven until they stop jiggling or this will overcook them. The chilling steps finish up the firming process, so don’t worry about that aspect.

Storage
- Fridge – Store in a sealed container for up to 4 days.
- Freezer – Store in an airtight container in the freezer for up to 2 months.
- Reheating – Do not reheat. Allow the mini cheesecakes to thaw and come to an edible temperature on their own.
More Cheesecake Recipes

Mini Cheesecakes with Fruit
Ingredients
- 1 cup graham cracker crumbs
- 3 tbsp granulated sugar
- 4 tbsp unsalted butter melted
Cheesecake Filling
- 16 ounces cream cheese softened
- 1/3 cup sour cream room temperature
- 1/2 cup granulated sugar
- 2 large eggs room temperature
- 1 tsp vanilla extract
Fruit
- 1/4 cup strawberries
- 1/4 cup blueberries
- 1/4 cup blackberries
Instructions
- Preheat oven to 325°F (163°C). Line a 12-count muffin pan with cupcake liners and set it aside.
- In a large mixing bowl, stir together the graham cracker crumbs and sugar. Add the melted butter and mix until all of the crumbs are moistened. Evenly distribute the mixture between all 12 liners and firmly press it down into one even layer.
- Bake at 325°F (163°C) for 5 minutes. Remove from the oven and set aside. Keep oven temperature at 325°F (163°C).
- In the bowl of a stand mixer fitted with the paddle attachment, or in a large mixing bowl using an electric mixer, mix the cream cheese and sour cream together until smooth and creamy. Add the sugar and vanilla extract and mix until fully combined, stopping to scrape down the sides of the bowl as needed. Mix in the eggs, one at a time, on low speed until just combined.
- Evenly distribute the batter between all 12 liners in the cupcake pan, filling each one almost all the way to the top.
- Bake at 325°F (163°C) for 17-20 minutes or until the tops of the cheesecakes are set.
- Remove from the oven and allow to cool in the pan for 1 hour. Carefully remove from the pan and chill in an airtight container in the refrigerator for 3-4 hours or overnight.
- Serve with fresh fruit and enjoy!

Leave a Reply